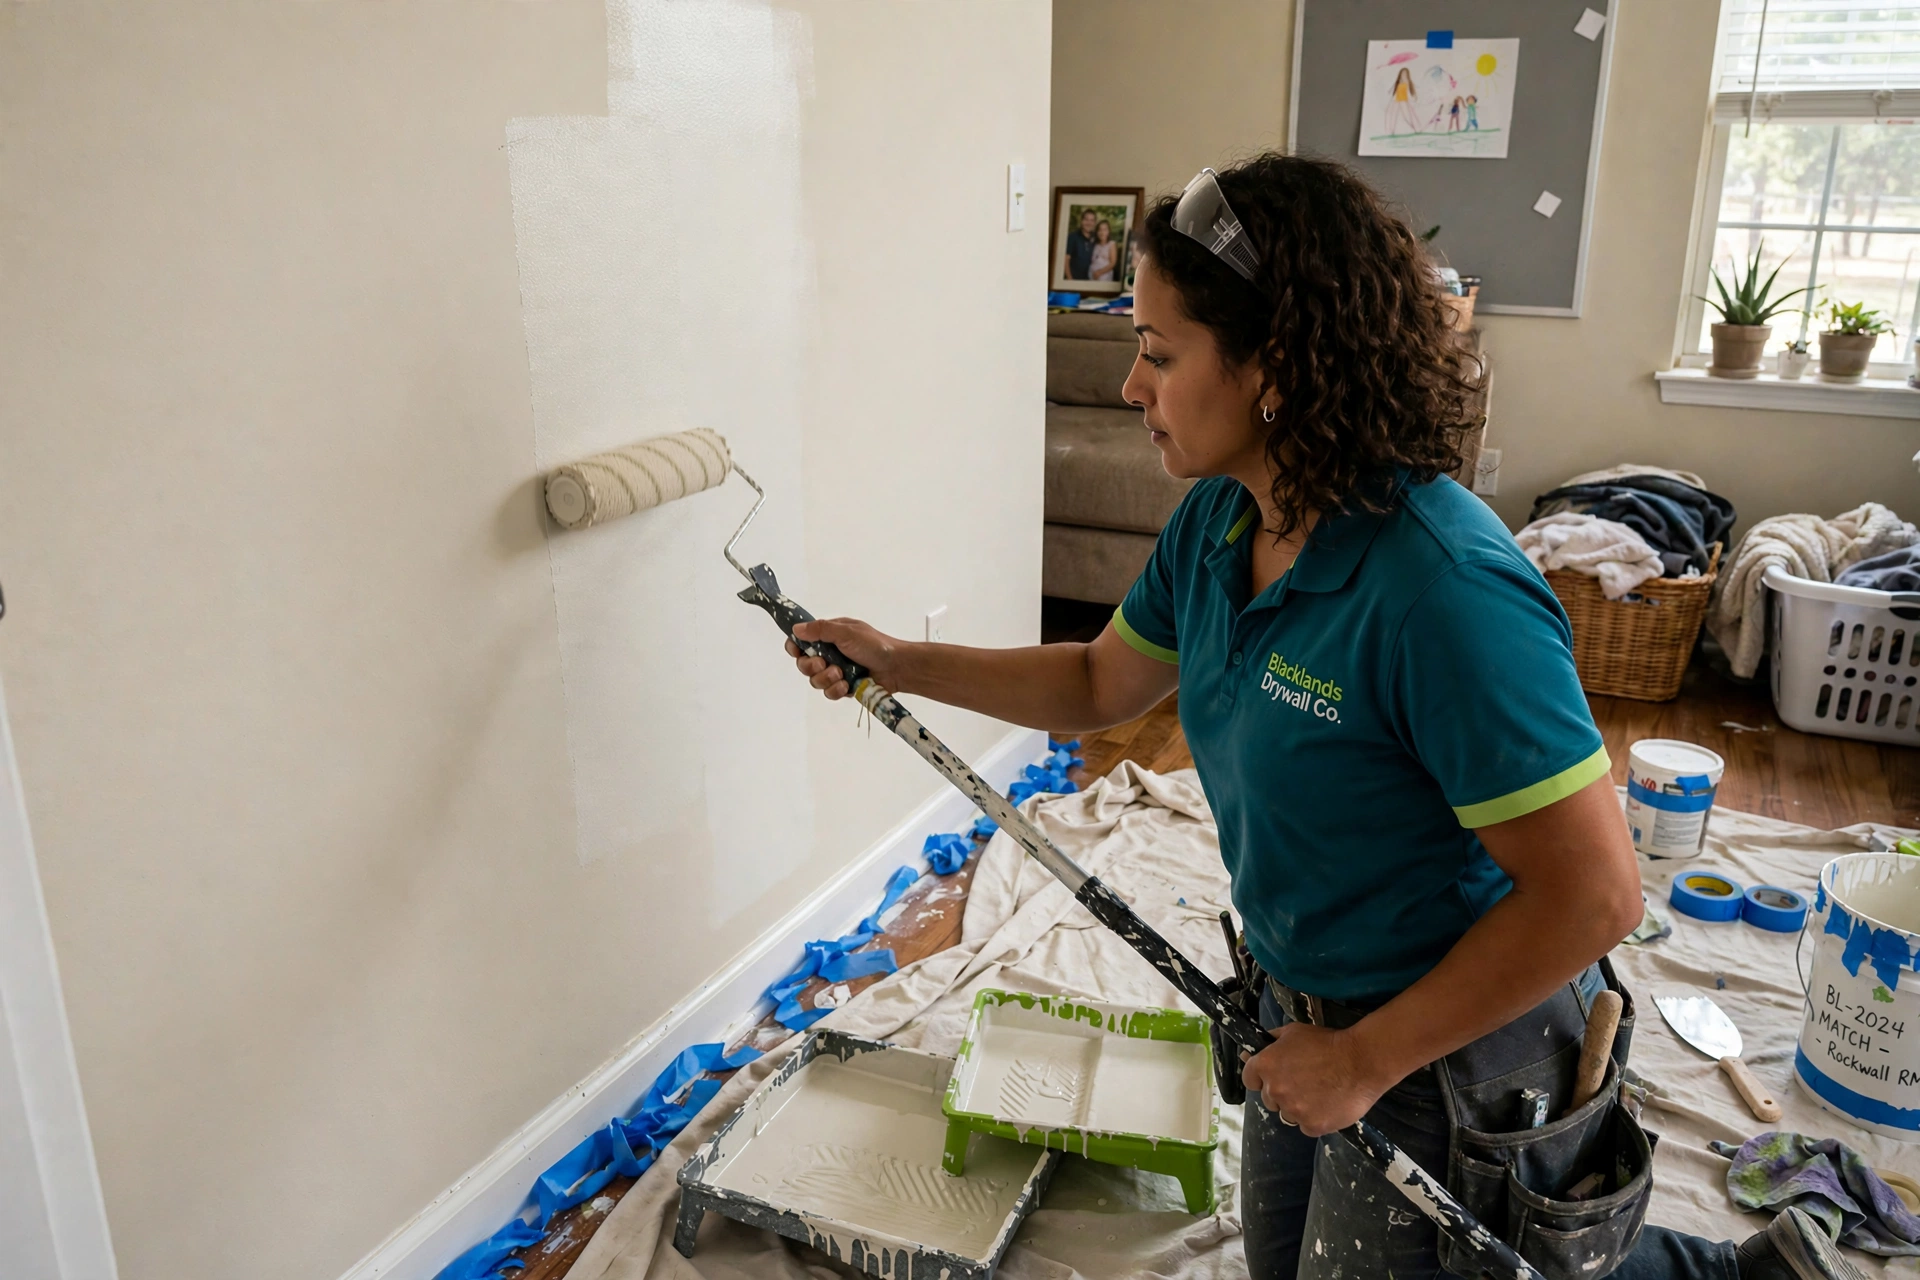
The short answer: a ceiling water stain is repaired in six steps - stop the water source, confirm the drywall is dry and still firm, clean and prep the surface, seal the stain with a stain-blocking primer, repair texture if needed, then repaint. Skip any step and the stain comes back. If the ceiling feels soft, sags, or drips, stop - that's not a stain repair, that's a replacement job. Call Blacklands Drywall Co. at (214) 494-8955 and we'll tell you which one you're dealing with.
First: A Stain Is a Symptom, Not the Problem
Every ceiling stain has a story, and the story matters more than the stain. Water doesn't appear from nowhere - it traveled from a source, through building materials, to the spot you're staring at. The stain is just where it finally showed itself.
In Rockwall homes, the usual suspects are:
- Clogged AC condensate drain lines. The number-one cause we see. Every summer, slow drips from a clogged line soak ceilings for weeks before the stain appears. Small water, long duration, big stain.
- Roof leaks. North Texas spring storms drive rain under shingles and flashing. The leak shows up as a stain days later because water travels along framing and decking first.
- Upstairs plumbing. A supply line, drain, or toilet seal on the floor above. These tend to make bigger, faster-growing stains.
- Bathroom moisture. Chronic steam without ventilation can stain ceilings over time - usually accompanied by peeling paint rather than a defined brown ring.
Why does the source matter for a repair article? Because repairing the stain without fixing the source is decorating, not repairing. The stain will return - often worse, because now there's a sealed layer of paint trapping fresh moisture. Step zero of every legitimate repair is confirming the water has stopped.
Step 0: Stop the Water and Confirm It's Dry
Before anything cosmetic happens:
- Fix the source. Clear the AC drain line, repair the roof, fix the plumbing - whatever it was. If you're not sure the source is stopped, you're not ready for step 1.
- Let it dry completely. A stain that looks dry on the surface can still be wet inside the drywall. Surface-dry is not dry. Professionals verify with moisture meter readings; without a meter, give it time with good airflow and don't rush to the primer stage. Painting over damp drywall seals moisture in and guarantees the stain bleeds back.
- Check firmness. Press the stained area gently. Firm and solid means the drywall survived and you're doing a stain repair. Soft, spongy, or sagging means the drywall itself is compromised - skip to the "when it's bigger than a stain" section below, because no amount of primer fixes ruined drywall.
This step is where most DIY stain repairs fail. Everything after it is cosmetic; everything before it is structural. Get the order right.
Step 1: Assess the Damage Honestly
With the source stopped and the area dry, take stock:
- Size and shape. A defined brown ring the size of a dinner plate is a classic slow-drip stain. Large irregular blotches suggest a bigger event. Multiple stains suggest multiple entry points or one leak that traveled.
- Surface condition. Is the paint just discolored, or is it bubbling and peeling? Discoloration alone is the easy case. Bubbling means moisture got under the paint film - the surface needs more prep.
- Texture. Note your ceiling texture now (smooth, orange peel, knockdown, popcorn). You'll need to match it later, and popcorn ceilings with water stains are a special case - the texture itself often needs professional attention. (See our guide to water-damaged ceiling repair.)
- Age of the stain. Old, long-ignored stains sometimes indicate long-term moisture - worth a harder look at firmness and a sniff for mustiness before you commit to a cosmetic repair.
If the assessment reveals soft drywall, sagging, or a musty smell that won't quit, you're not repairing a stain - you're repairing water-damaged drywall that happens to have a stain on it. Different job, different steps. Our article on how to tell if drywall needs replacement walks through the tests.
Step 2: Prep the Surface
Good prep is the difference between a repair that disappears and one you notice every time you walk into the room.
- Protect the room. Drop cloths on the floor, tape off walls at the ceiling line. Ceiling work drips.
- Scrape loose material. With a putty knife, gently remove any flaking, bubbling, or peeling paint around the stain. Don't gouge - just take what's already failing. If paint is peeling widely, the drywall paper underneath may be compromised; reassess firmness.
- Sand lightly. A fine-grit sanding sponge smooths the edges where scraped paint meets intact paint, so the repair doesn't show a ridge. Sand just enough to feather the edges.
- Clean the surface. Wipe with a damp (not wet) cloth or sponge to remove dust and any residue. Let it dry fully before priming. On ceilings with light mold spotting around the stain, cleaning matters - but widespread mold is a different problem that needs professional assessment first.
Step 3: Seal the Stain (The Step Everyone Skips)
This is the technical heart of the repair, and the step that separates lasting results from repeat stains: you must use a stain-blocking primer, not regular paint and not regular primer.
Why: water stains are water-soluble discoloration. Regular latex paint and standard primers are water-based - the stain dissolves right through them and reappears, sometimes within days. It's the single most common reason "I painted over it and it came back."
What works:
- Shellac-based primers are the gold standard for water stains. They seal aggressively and block even severe discoloration in one coat. They smell strong and need ventilation, but nothing blocks stains better.
- Oil-based stain-blocking primers are the next best option - excellent sealing with easier handling than shellac.
- High-quality water-based stain blockers exist and work for light stains, but for a real brown-ring water stain, shellac or oil is the reliable choice.
Application notes: apply the stain blocker slightly beyond the stain's edges (stains are bigger than they look once sealed), let it dry per the can's directions, and check whether the stain ghosts through - a second coat on stubborn spots is normal and correct. Don't rush this coat. The sealer is doing the actual work of the repair; the paint afterward is just color.
Step 4: Repair Texture if Needed
If scraping and sanding left the surface uneven, or the stain area's texture was damaged:
- Smooth ceilings: a thin skim of joint compound, sanded smooth when dry, restores the surface. Keep it thin - thick applications crack.
- Orange peel / knockdown: texture in a can works for small areas, but matching existing texture takes practice. Spray a test pattern on cardboard first and compare before committing to the ceiling.
- Popcorn: water-damaged popcorn texture rarely patches invisibly. If the popcorn itself is stained or damaged beyond a small spot, professional re-texturing of the section (or the ceiling) gives the only clean result.
Texture repair is the step where DIY results most visibly diverge from professional results. A perfect stain seal with a mismatched texture patch still draws the eye. Be honest about the finish standard you want.
Step 5: Repaint - Properly
With the stain sealed and the surface smooth:
- Use ceiling paint, not wall paint. Ceiling paint is formulated flatter to hide imperfections and resist the lap marks that overhead rolling leaves behind.
- Feather outward. Roll from the repair outward into the existing ceiling, keeping a wet edge. A hard stop line at the repair boundary will show.
- Expect two coats. The first coat over primer can look uneven; the second coat is what makes it disappear.
- Consider the whole ceiling. If the existing ceiling paint is old or the room gets strong light, a fresh coat across the entire ceiling hides the repair completely. Spot repairs on aged, yellowed ceilings often remain faintly visible no matter how good the technique.
When It's Bigger Than a Stain
Stop the cosmetic repair and reassess if you find any of these:
- Soft or spongy drywall under the stain - the core is compromised; this section needs replacement, not refinishing.
- Sagging or bowing - waterlogged ceiling drywall is heavy and dangerous. Don't press it, don't try to drain it, keep clear underneath, and call for emergency assessment. Our sagging ceiling guide covers the emergency steps.
- Musty smell that persists after drying - suggests mold inside the cavity or on the drywall's back side.
- Stains that keep returning after proper sealing - the source isn't actually fixed, or moisture is still trapped.
- Multiple spreading stains - points to an ongoing or widespread source (roof, plumbing) that needs addressing before any cosmetic work.
None of these are failures - they're information. A stain repair attempted on ruined drywall wastes a weekend and buys a bigger problem. Knowing when to escalate is the skill.
The Mistakes That Bring Stains Back
- Painting before it's dry. The number-one cause of repeat stains. Surface-dry is not dry.
- Skipping the stain blocker. Regular paint over a water stain is a temporary cover, not a repair.
- Fixing the stain but not the source. The AC drain line is still dripping; the roof still leaks. The stain's sequel is already filming.
- Ignoring soft spots. Cosmetic work over compromised drywall fails structurally, not just visually.
- One coat of everything. Stain sealing and ceiling painting both typically need two passes. Rushing shows.
How Long Does a Ceiling Stain Repair Take?
A straightforward stain repair - dry, firm drywall, defined stain - is typically a weekend project across two days: day one for prep, sealing, and any texture work; day two for painting after everything has cured. The drying wait before you start doesn't count - that's the source-fix and verification period, and it takes as long as it takes. Rushing the timeline is how stains come back. If the job involves drywall replacement, texture matching across a visible ceiling, or mold concerns, it's a multi-visit professional job - our article on how long wet drywall takes to dry explains why the timeline can't be compressed.
Bottom line: A ceiling water stain is a six-step repair - source, dryness, assessment, prep, stain-blocking primer, paint - and the order is non-negotiable. Done right, the stain disappears permanently. Done out of order, it comes back with interest. And if the drywall underneath is soft, sagging, or smelly, put the paint roller down: that's a replacement job wearing a stain's disguise.