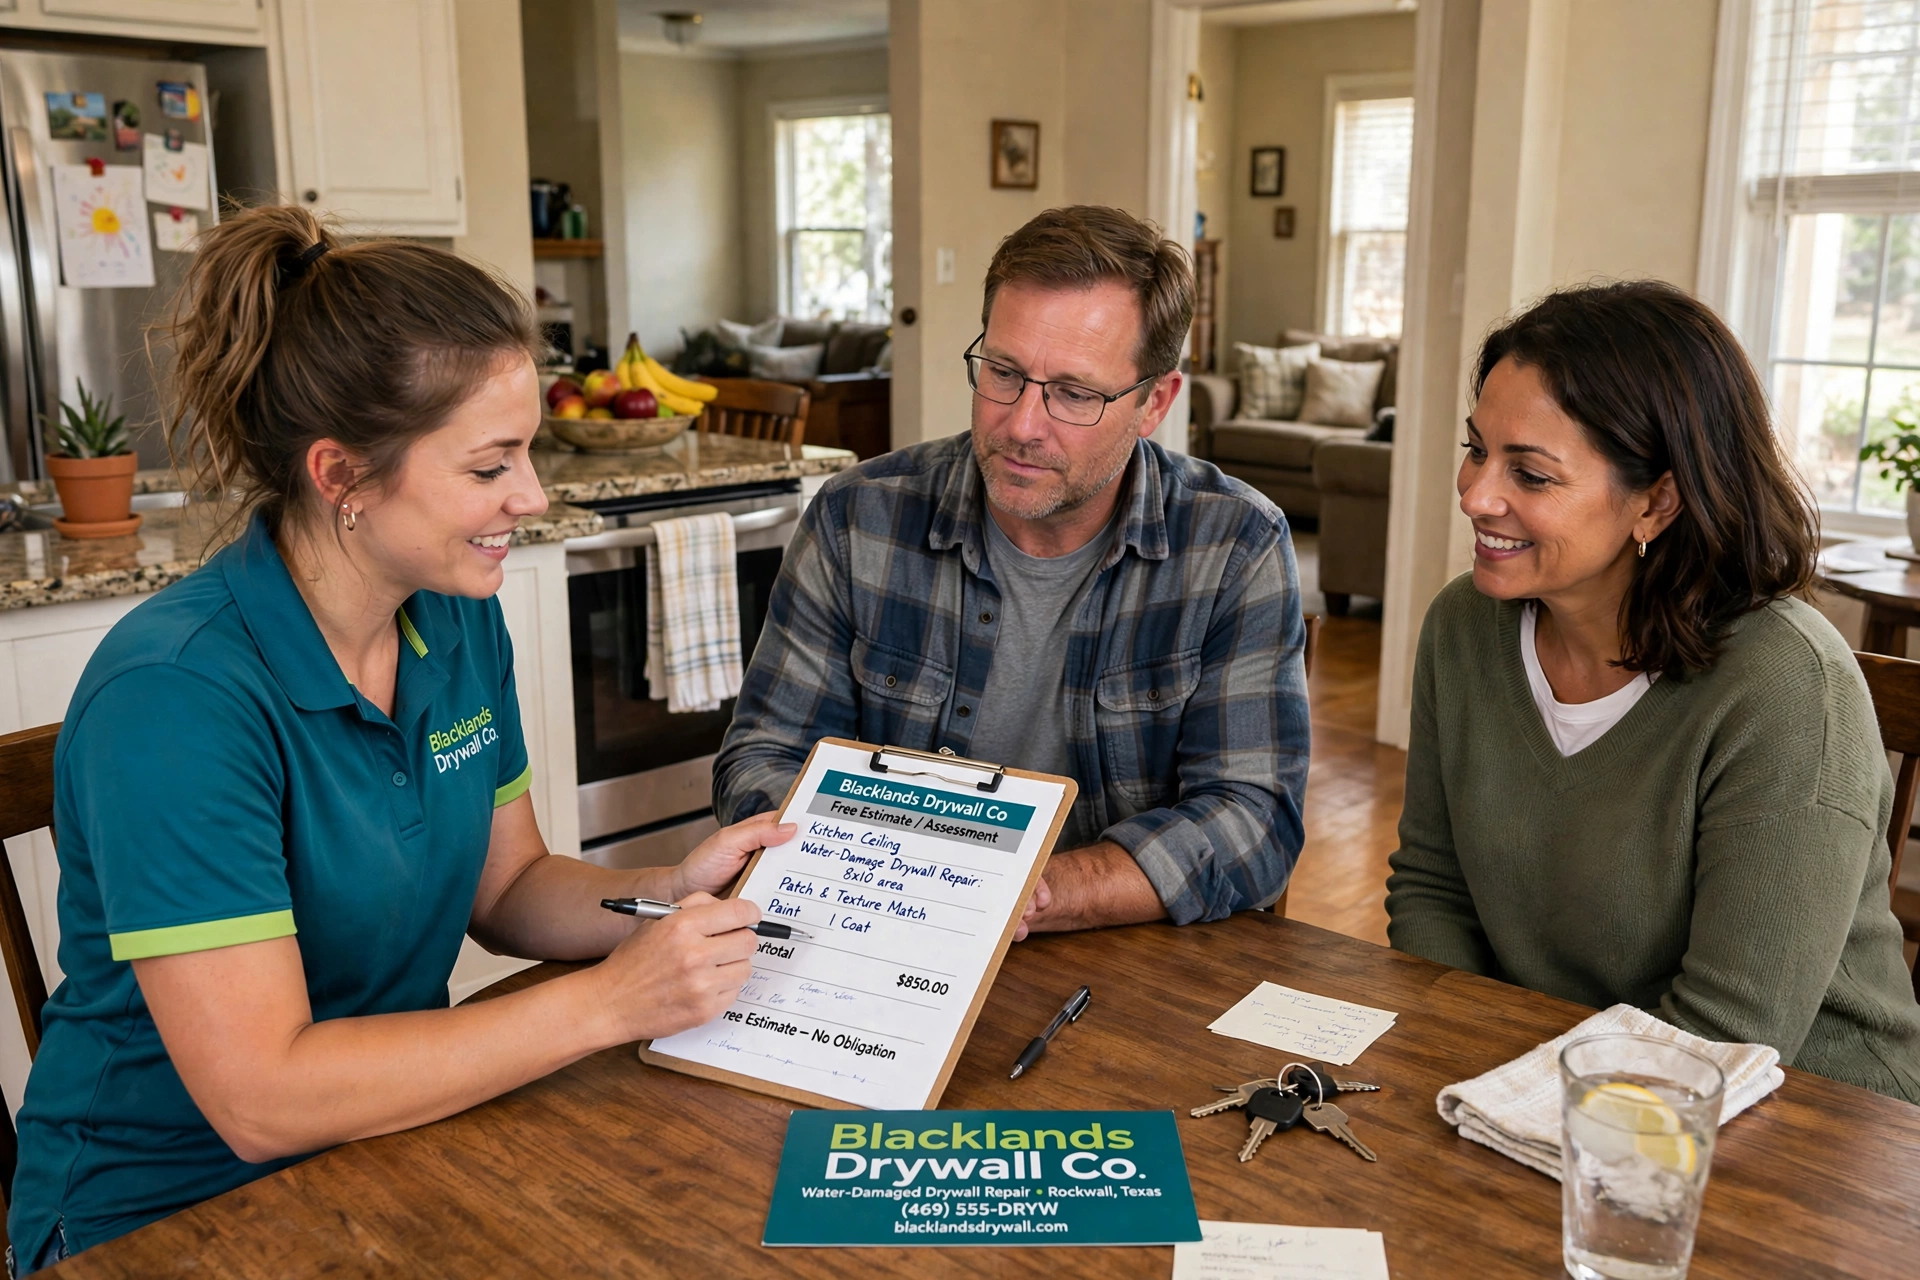
The short answer: stop the water source if it's safe to do so, don't start repairs or throw anything away, take photos of everything as you found it, clear a path to the damaged area, and jot down a rough timeline of what happened and when. None of this takes more than fifteen or twenty minutes, and it makes the assessment visit faster and more accurate - which usually means a better quote and a smoother insurance process if you're filing a claim. Call Blacklands Drywall Co. at (214) 494-8955 to schedule, and use this list while you wait.
Why a Little Prep Changes the Visit
A contractor's assessment is only as good as what they can see and what you can tell them. Water damage changes over time - standing water gets mopped up, stains can be partially hidden by moved furniture, and the story of how it happened gets fuzzier the longer it sits unwritten. A homeowner who's done five minutes of prep gives a contractor a far clearer picture than one who says "I don't really know, it was like this when I noticed it" - and a clearer picture means a more accurate scope and estimate on the first visit, instead of guesswork that gets corrected later.
Before the Visit: The Checklist
1. Stop the water source, if safe to do so. If you haven't already, shut off the specific source - main water valve for a plumbing issue, the appliance itself if it's a washing machine or water heater, or contain a roof leak with a bucket if it's still actively dripping during rain. Don't attempt anything that requires going onto a roof or into standing water near electrical sources.
2. Don't start repairs yet. Hold off on cutting into drywall, removing baseboards, or starting any repair work before the assessment. The contractor needs to see the actual extent of the damage to scope it accurately - work started beforehand can accidentally remove information needed for an accurate quote or an insurance claim.
3. Don't throw anything away yet, especially if you're filing an insurance claim. Damaged materials are documentation. If you must remove something for safety (a collapsed section, standing water risk), photograph it thoroughly first from multiple angles.
4. Take photos and video now, before anything changes further. Wide shots of each affected room, close-ups of stains, sagging, or discoloration, and photos of the suspected source if visible and safe to photograph. This matters for your own records even beyond insurance - and if the contractor can review photos ahead of the visit, it helps them come prepared with the right tools and materials.
5. Clear a path to the damaged area. Move furniture, boxes, or anything blocking clear access to the wall or ceiling in question. This sounds minor but saves real time during the visit and lets the contractor get a full, unobstructed look (and take their own moisture readings) immediately.
6. Jot down a rough timeline. When did you first notice it? Do you know (or suspect) when it started? Has it gotten worse, stayed the same, or dried out on its own? Is there a specific event you can point to (a storm, a pipe you heard, an appliance that malfunctioned)? You don't need to have this perfectly figured out - "noticed it Tuesday morning, think it's related to Sunday's storm" is genuinely useful information.
7. Note anything you've already done. Did you run fans? Open windows? Try to dry it yourself? Call a plumber or roofer already? This context helps the contractor understand the current state versus the original damage.
8. If you're filing an insurance claim, have your policy info nearby. You don't need it for the contractor directly, but having your claim number (if you've already filed) or policy number handy means you can answer questions quickly if they come up, and the contractor's written assessment can reference the right claim if needed.
9. Think through your questions ahead of time. Common ones worth preparing: Is this a patch or does it need more extensive replacement? Is there a mold concern? How long will the repair take? Does this need to go through insurance? Having these ready means you get real answers during the visit instead of thinking of them after the contractor leaves.
10. Make sure pets and kids can be kept clear of the damaged area during the visit, especially for ceiling damage or anywhere there's a safety concern - the contractor will need to inspect closely, sometimes including probing or pressing on the material.
What NOT to Do Before the Visit
- Don't paint over stains to "see how it looks" - this can seal in moisture and also removes useful visual information about the damage's extent.
- Don't caulk or seal gaps around the damaged area - same reasoning, it traps moisture rather than addressing it.
- Don't try to dry it aggressively with space heaters pointed directly at the wall - uneven, intense heat can sometimes cause additional cracking or warping, and it's not a substitute for proper assessment-guided drying.
- Don't assume you know the full extent and only show the contractor the worst spot - mention every area you've noticed anything, even minor discoloration elsewhere, since water damage often connects between rooms in ways that aren't obvious.
What Happens During the Assessment Visit
Knowing what to expect helps you prepare the right information:
- Visual inspection of all damaged areas you point out.
- Moisture meter readings to map the actual extent of the wet area, which is often larger than what's visible.
- Firmness and condition checks on the drywall itself.
- Questions about timeline, source, and what's already been done.
- A discussion of findings - patch vs. replacement, any mold concerns, insurance considerations - explained in plain terms.
- A written estimate or scope of work, ideally with photos and moisture readings documented for your records (and for insurance, if applicable).
Why This Matters More Than It Seems
None of this prep is complicated, but it has a real effect on outcomes. Homeowners who document early and thoroughly tend to have smoother insurance claims. Clear access and good information up front tend to get more accurate first-visit quotes, with fewer surprises added later. And having your questions ready means you leave the visit actually understanding your situation, instead of just having a number on a piece of paper.
Bottom line: A water-damage assessment goes faster and lands more accurately when the contractor can see clear access, honest timeline information, and documentation of how things looked when you first found them. None of the prep takes long - it just has to happen before anything changes.